LED lights in cars look so cool and dashing. If you want to install LEDs in your car but don’t know how, you’re in the right place. Most people usually mean that by installing car LED headlights in their car, they are installing them in the interior part of the vehicle.
That’s why this article is specifically designed to guide you through the interior LED installation process. However, don’t get disheartened if you want to install LED underglows or headlights, as we’ll also talk about them briefly. Let’s get started!
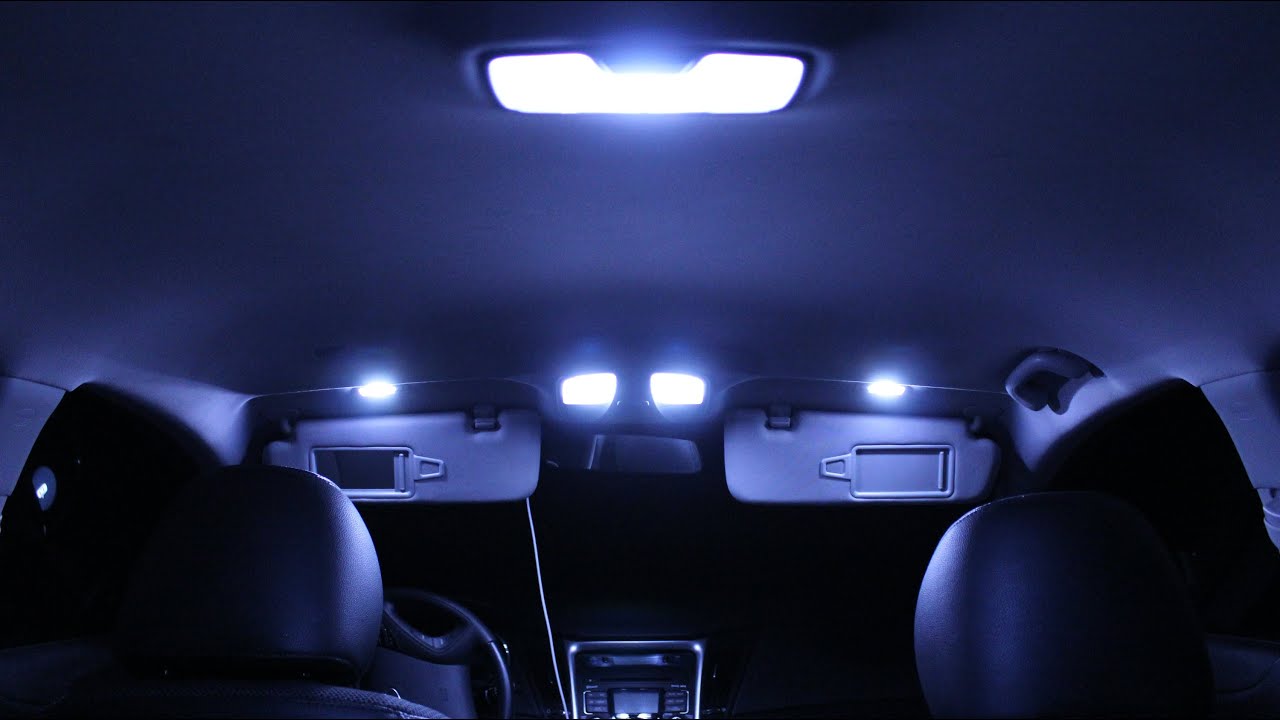
Installation Steps for LED Lights in Cars
Car Interior
The steps to install LEDs inside your car are:
Decision
The first step to LED light installation in the interior of your car is figuring out how many lights you need to install. The amount can vary depending on your choice of where you want to put those lights and the size of the vehicle. Usually people put LED lights under the seats, under the dash, or in both places.
Obtain Items
Once you decide on the number of LED lights, you need to purchase them. You can buy an LED light installation kit that includes LED lights, a remote, an app and some other parts like zip ties, velcro, and the power box required to install the lights in your car.
These kits aren’t that expensive, and buying them as a kit is more cost-effective than purchasing them individually. Also, if you buy these kits online instead of in auto parts stores, you can get them at a bit cheaper price. However, you may need to purchase some tools that don’t come with the kits, for example, a fuse adaptor.
Powering the Lights
After you obtain all the parts for installation, it’s time to determine how you want to power the lights. Most people usually use a fuse box, which can usually be under the driver’s side footwell. We also recommend this method. However, there are other methods, like using the car charger to power the LEDs.
Fuse Box
If you want to use the fuse box, you need to read the vehicle’s owner’s manual to look for the fuse box diagram locations and their fuse powers. You need to know the accessory fuse location so that the car’s battery doesn’t drain when the car is off by allowing the lights to get power only when you turn on the car.
Once located, you need to take out the accessory fuse from the panel and place it in a fuse adaptor. Then you need to insert that adapter into the original fuse point and connect it with the https://en.wikipedia.org/wiki/LED light’s power box. After that, you should connect the LEDs to the power box and connect them to a grounding point inside the vehicle with a black wire. If you don’t connect to a proper grounding point, LEDs won’t turn on. You can find the grounding point where there is a metal part underneath the dash.
Car Charger
In case you want to power the LEDs using the car charger, which is also known as a cigarette lighter, you need to locate a power outlet with 12 volts power inside your car. The black and red power wires of a cigarette lighter need to be exposed; you can use a wire cutter to strip them.
Then you need to connect those exposed parts to the butt connector and crimp them to make them secure. After that, you need to connect those butt connectors to the car charger adapter and plug that adapter into the 12-volt outlet.
Organizing Lights
To organize the LEDs properly, you’ll need to connect the power box of the LEDs to the power source. Then you need to route the wires in such a way that they won’t be visible. You can put them between the center console or under the dash. Also, you can use zip ties to prevent jumbles and make them presentable.
Moreover, you can use electrical tape on the wires so that they don’t fall while driving the car. For perfect placement of the LEDs in your desired location, you need to place velcro under each light and in the places where you want them to stick.
Testing
The final step is to test those LEDs to see if they’re actually reacting to the controlling app or the remote. If they don’t turn on, you need to check to ensure every connection is fitted and tightened properly. Now you can see again and check if the light colors and patterns are working properly.
Underglow
Underglow is the ground-effect lighting that’s placed under the chassis of cars to illuminate the ground beneath the car. Installing underglow is so tricky, specifically the last stage where you connect all the wires to many different places, so it’s best to leave it to the pros. The steps for installing the underglow are:
- Purchase an underglow kit.
- Under the hood, find a suitable place to secure the control box.
- Disconnect the negative cable first and the positive cable using a battery wrench.
- Mount the longer lights under the vehicle doors and the shorter ones under the bumpers.
- Use mounting brackets to secure the light positions and screw them in place.
- Connect all the wires and test if they’re working.
Headlights
The steps to install LED headlights are:
- Locate the headlight you need to replace and remove the rubber gasket cover.
- Pull out all the wiring harnesses connected to the headlights and remove the old bulb.
- Mount the new LED headlights by twisting the collar ring out and placing it in the housing.
- Then gently put the headlights in the sockets and twist them clockwise to lock them.
- Connect the plug, and then put back the gasket.
Conclusion
When you want to install LEDs for the interior, we recommend you place them under the back seats, on the driver and passenger footwells. But don’t try DIY if you’re not an expert in this field, as handling the electric items can be dangerous. No matter what kind of LED installation you seek, contact professionals; they’ll provide you with the best solution as a package.